Well, well, well… looks like we have a budding hairstylist in the making. Welcome to the club my friend! We’ve got scissors, combs, and hair products galore. And we mustn’t overlook the ongoing discussions regarding the merits of a #2 or #3 guard for achieving a flawless low fade haircut. If you’re reading this as a customer, get the best haircut in Scottsdale from professionals.
Rest assured, we are here to assist you in navigating through this intriguing world (pun intended). Let us proceed, shall we? Here are some expert tips and techniques for achieving a flawless low-fade haircut.
First things first
Before we even start snipping away at your masterpiece, make sure you have the right tools. A good pair of clippers with adjustable guards, a comb, scissors, and some hair products (like gel or pomade) are essential for a low-fade haircut. And don’t forget to sanitize your tools before using them on someone’s precious locks.
The lowdown on the low fade
Before learning how to do a low fade haircut, what is a low fade haircut? A low fade is a type of haircut where the hair gradually tapers from a longer length at the top to a shorter length towards the nape of the neck. It’s called “low” because it starts near the temples and gradually fades down towards the ears, creating a blended look.
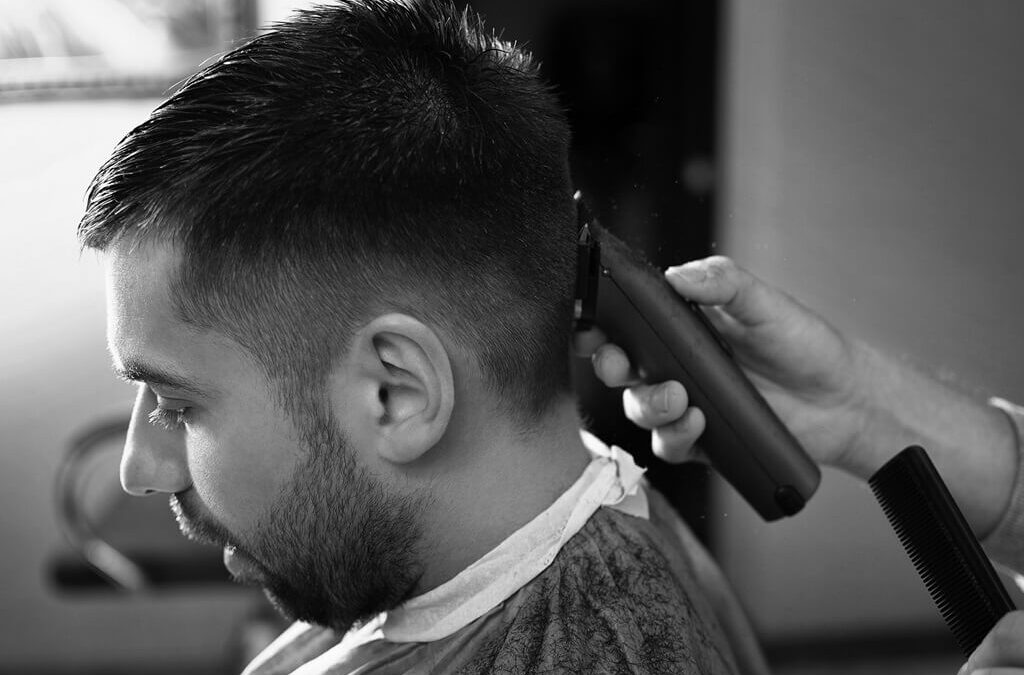
Ready, set, fade!
Now that you have acquired the necessary tools and are familiar with the concept of a low fade, let us commence. Begin by gently combing the hair on the crown towards either side, while reserving a small section at the front for subsequent attention. Use your clippers with no guard or a #1 guard to shave off the hair around the nape of the neck and ears. This is where you can get creative and give your low fade a unique shape.
Next, switch to a #2 or #3 guard (depending on your preference) and start fading the hair from the bottom to the top. Make sure to blend in the different lengths for a smooth transition. This is where having good clippers comes in handy, as they will help you achieve a clean and even fade.
The finishing touches
Once you have blended the sides, it’s time to focus on the top section of the hair. Remember that small section we left in front earlier? Well, this is where you can add some texture and style to your low fade. Use scissors or thinning shears to create layers and add volume to the hair.
To complete the look, apply some hair products (gel, pomade, or wax) to give your low fade a polished finish. And voila! You have successfully mastered the art of a low-fade haircut.
But wait, there’s more!
Now that you know how to do a low-fade haircut, why not explore various variations and expand your expertise? You can try a high or mid fade for a more dramatic look, or add designs and patterns for some extra flair. And don’t forget to share your creations with us, fellow hairstylists in the making. So go ahead, grab your clippers, and get ready to impress with your low fade skills. And remember, practice makes perfect. Who knows, maybe one day you’ll be giving haircuts to A-list celebrities.
If you’re looking in the mirror with a full Amazon basket and lots of ambition, we recommend leaving it to the pros to avoid mistakes!
Read Our Other Blog: How to Care and Prevent Damaged Hair in Men

Dru Meskan is the owner and master barber at First & Mane in Scottsdale, Arizona. With 19 years of haircutting experience, including 11 years as a professional barber, Dru is known for precision cuts, modern grooming techniques, and personalized service that keeps clients looking and feeling their best.